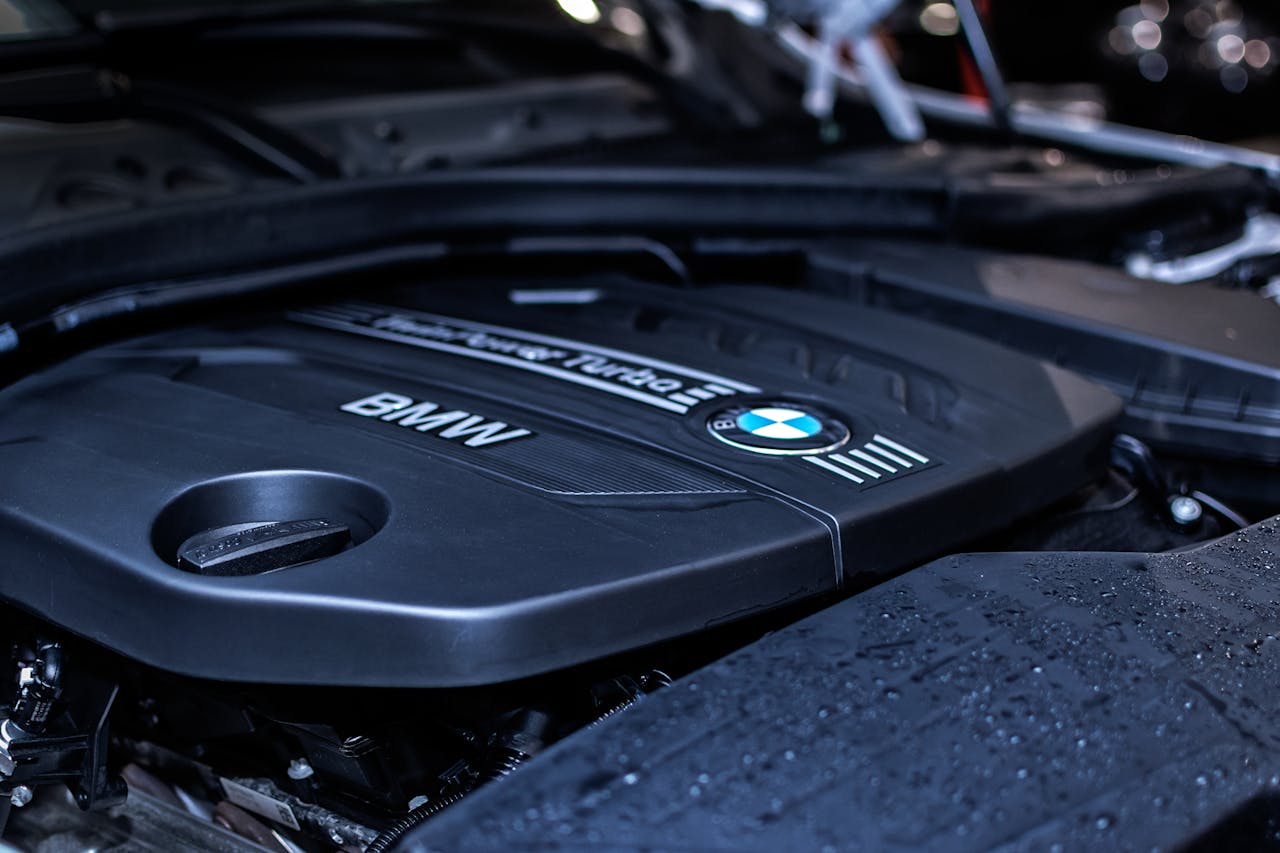
Cleaning a car’s engine bay may seem intimidating, especially with all the sensitive components that could be damaged by water or harsh chemicals. However, with the right approach and products, you can safely clean an engine bay and make it look as pristine as the rest of your vehicle. Here’s a step-by-step guide to help you clean your engine bay safely and effectively without risking damage.
1. Gather Your Supplies
Before starting, make sure you have the right supplies. Here’s what you’ll need for a safe and efficient engine bay cleaning:
- Plastic bags or foil (to cover sensitive components)
- Microfiber towels or rags
- Soft-bristled brushes or detailing brushes
- A waterless or no-rinse cleaner or gentle engine cleaner
- Degreaser (preferably one that’s safe for automotive finishes)
- Hose with a gentle spray nozzle (optional but be very careful with this)
- Air compressor or leaf blower (optional but useful for drying)
- Rubber gloves and eye protection (for safety)
2. Prep the Engine Bay
To protect the engine’s sensitive components from water damage, take these steps before you start cleaning:
- Cover Electrical Components: Use plastic bags or aluminum foil to cover the battery, alternator, air intake, exposed wiring, and any other delicate or electrical components. This prevents water from coming into direct contact with parts that could be damaged.
- Let the Engine Cool: Never clean an engine bay while the engine is hot. Allow it to cool for at least 30 minutes to an hour to avoid burns and prevent rapid temperature changes that could harm components.
3. Start with a Dry Cleaning
For a safer and cleaner start, it’s helpful to perform a dry cleaning step.
- Use Compressed Air or a Leaf Blower: If you have access to compressed air or a leaf blower, use it to blow away loose dirt, leaves, or debris that have accumulated. This helps avoid scratching surfaces when applying cleaner later.
- Brush Away Dust: For remaining dust and dirt, use a soft-bristled detailing brush to gently scrub areas around hoses, wiring, and other delicate components. This dry step also makes applying the cleaner more effective.
4. Apply a Degreaser Carefully
Grease, oil, and grime are common in engine bays. A degreaser can help lift these tough residues, but apply it with care.
- Apply Degreaser to a Cloth First: For delicate or visible surfaces, spray the degreaser directly onto a cloth rather than directly on the engine to avoid overspray.
- Focus on Heavily Soiled Areas: Use your microfiber cloth to wipe down any areas with thick grease, such as around the engine block or under the hood.
- Brush in Tight Spots: Use a detailing brush to work the degreaser into crevices, taking extra care around electrical components.
5. Wipe Down or Gently Rinse
Once the degreaser has lifted the grease and grime, choose a safe rinsing method.
- Use Waterless or Low-Rinse Cleaning Solutions: If you’re concerned about water exposure, waterless cleaning solutions can be highly effective. Use a damp microfiber cloth with the cleaning solution to wipe away the degreaser and dirt.
- Gentle Rinse (If Needed): If the engine bay is extremely dirty, a low-pressure water rinse may be necessary. Use a gentle spray on areas that are not covered, and avoid powerful water jets, which can dislodge wires or force water into sensitive parts.
6. Dry the Engine Bay
It’s crucial to dry the engine bay thoroughly to avoid corrosion or electrical issues.
- Use Compressed Air or a Leaf Blower: Blow excess moisture from hard-to-reach areas with compressed air or a leaf blower. This will help prevent water from pooling.
- Dry with Microfiber Towels: Go over visible surfaces with microfiber towels, absorbing any leftover moisture and adding a final touch to your cleaning job.
7. Apply an Engine Bay Dressing (Optional)
If you want your engine bay to look brand new, consider using an engine bay dressing to protect hoses and plastic components.
- Spray Dressing on a Cloth: Spray a small amount of plastic or rubber protectant on a microfiber cloth, and apply it to hoses and plastic coverings.
- Wipe Away Excess: Be sure to remove any excess product to avoid collecting dust or dirt later on.
8. Perform a Final Check
After drying and dressing, inspect your work:
- Remove All Plastic Covers: Ensure all plastic bags or foil have been removed.
- Inspect Sensitive Parts: Double-check that everything is clean, dry, and secured.
- Start the Engine: After finishing, start your car to confirm everything is working correctly and to help evaporate any residual moisture.
Tips for Keeping Your Engine Bay Clean
Regular maintenance can help prevent heavy buildup, making future cleaning jobs easier and safer:
- Light Dusting: Every month or so, use a dry microfiber cloth or compressed air to dust off the engine bay.
- Avoid Oil Leaks: Regularly inspect for leaks to prevent buildup of grease and grime.
- Schedule Full Cleanings: Aim to deep clean the engine bay about twice a year, especially if you live in areas with high pollution or harsh weather.
Final Thoughts
Cleaning an engine bay may require extra caution, but it’s a rewarding job that helps maintain the value and appearance of your car. Following these steps can ensure you clean effectively without risking damage. Remember, proper preparation and gentle techniques make all the difference. By cleaning your engine bay safely, you’ll not only improve your vehicle’s appearance but also help extend its life.
Discover more from Detailing Industry News
Subscribe to get the latest posts sent to your email.